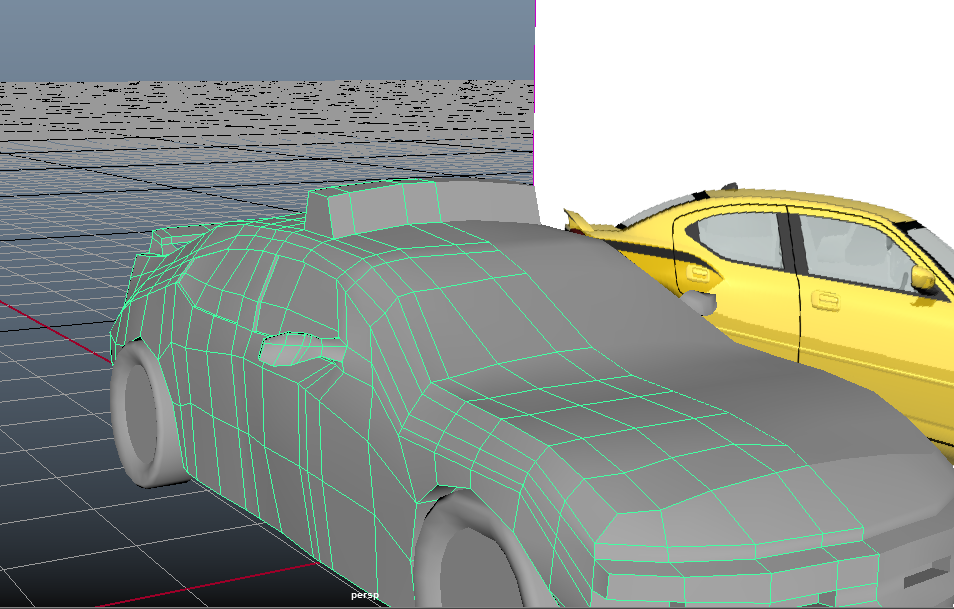
From last week I went in to refine some of the details of the car, trying to make the lights more transparent and adding taillights and headlights I also added red emissions to the red lights so they glow in the darkness.
New Car and Shaders


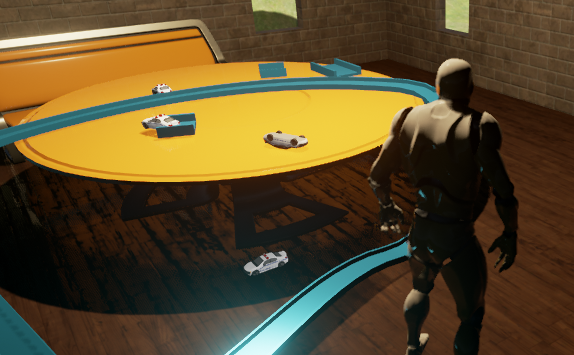
Setting the Scene
Due to how the colors came out of the model it reminded me of the hot wheel toys I would play with as a child. So I decided to bring the car model in as if it was a toy. I built a small room in unreal on in a grassy hilly terrain. In the room I modeled a simple hot wheel track piece and used splines to build the track while using unreal materials to color it. Lastly I added a matinee to the car on the track.